


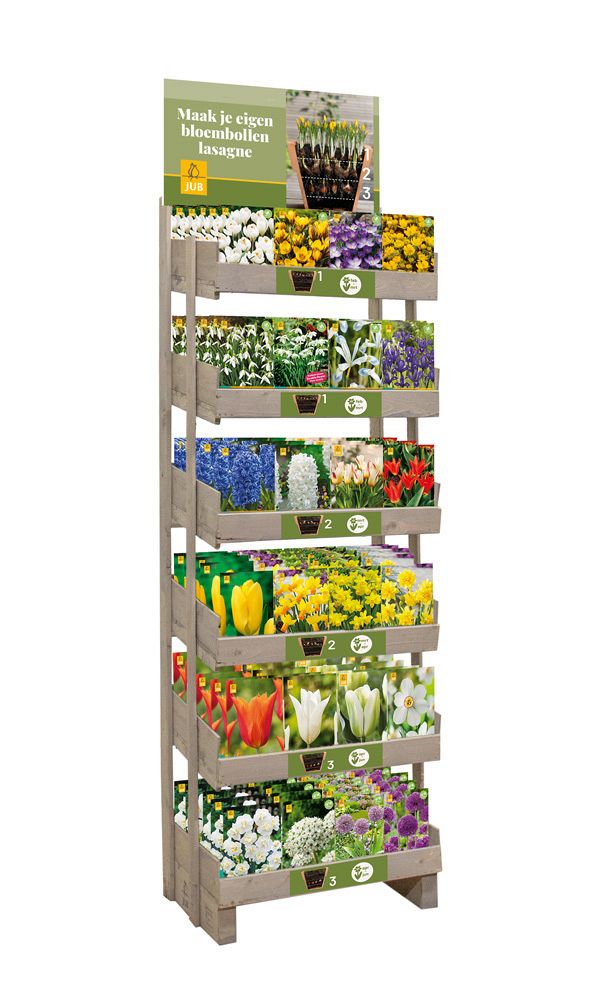
Make Your Own Flower Bulb Lasagne!
A pot full of blooms — surprising layer after layer!
This display offers you the perfect bulbs for planting in three layers. Each layer bursts into bloom at a different time in spring. That way, you can enjoy a dazzling flower show on your balcony or terrace for weeks on end!
🪴 How does it work? Choose your favourites layer by layer
On the display, the bulbs are spread across six rows – grouped into three layers – each with its own blooming time:
1. Top layer (early bloomers) – e.g. crocuses, galanthuses and irises
2. Middle layer (mid-season bloomers) – e.g. daffodils, early tulips and hyacinths
3. Bottom layer (late bloomers) – e.g. tulips, late daffodils and alliums


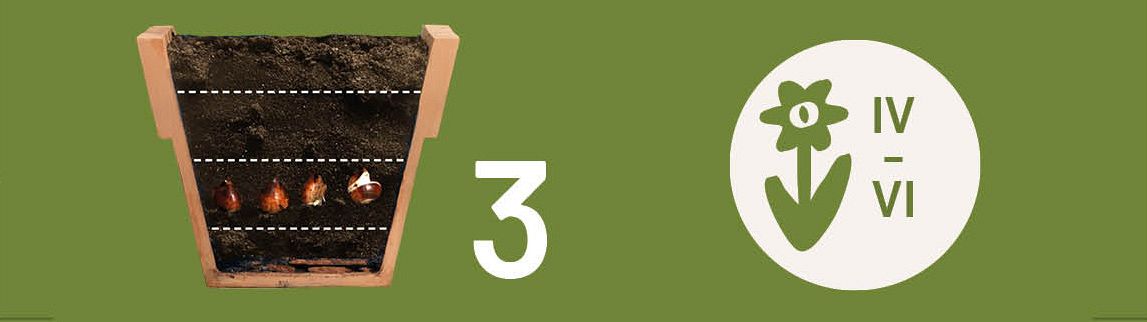
How to plant a flower bulb lasagna
Use a deep pot with drainage holes at the bottom and follow these steps:
Step 1: Drainage
Place some potsherds or clay pellets at the bottom for good water drainage.
Step 2: First layer of soil
Fill the pot about one-third with potting soil.
Step 3: Bottom layer of bulbs – LATE BLOOMERS
Place the late-blooming bulbs (e.g. tulips) with the tips pointing upwards.
Cover with soil.
Step 4: Middle layer of bulbs – MID-SEASON BLOOMERS
Add the mid-season blooming bulbs (e.g. daffodils), also with the tips up.
Cover again with soil.
Step 5: Top layer of bulbs – EARLY BLOOMERS
Finally, plant the early bloomers (e.g. crocuses) on top.
Cover with the final layer of soil.
Step 6: Water & wait!
Give your pot a little water now and then. Nature will take care of the rest.
🌼 The result
From February to June, your pot will be bursting with flowers – no green thumb required. Easy, clever, and simply spectacular!
check out our socials

